

Set Up A Google Listing
Step-By-Step Guide To Claim Your Google My Business Page
Step 1:
Go to www.Google.com/business and click the “Manage now” button

Note: You may be asked to sign into your Google account
* If you don't have a Google account, click here to learn how to set one up
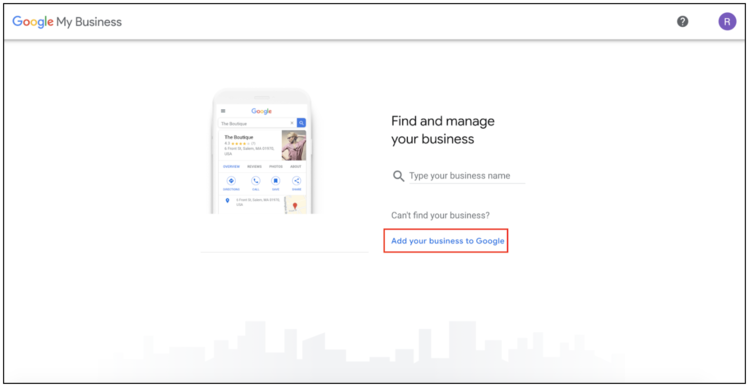
Step 2:
Select the “Add your business to Google” button.
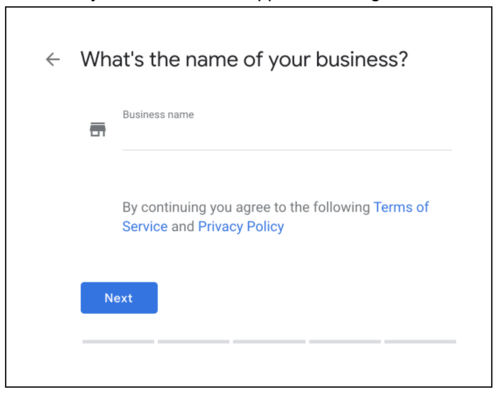
Step 3: Business Name
Enter the name of your business as you would like it to appear on Google, and hit “Next
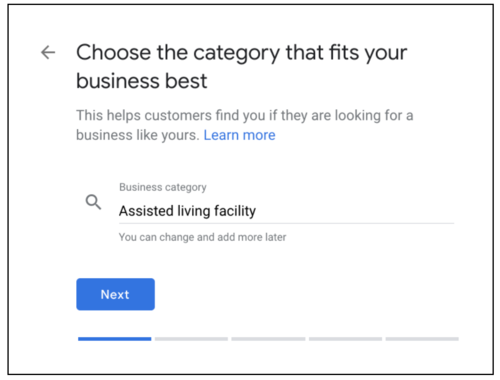
Step 4: Choose Category
Enter “Assisted living facility” as the category and hit “Next”
Step 5: Add a location
Select Yes. Then click “Next”

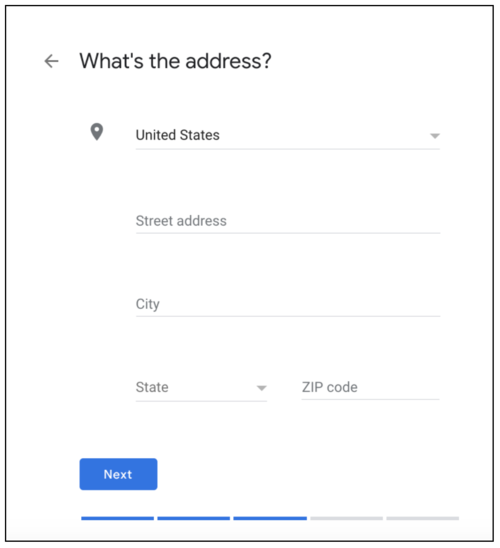
Step 6: Enter Address
Enter the address of your business. Then click “Next”
Step 7:
Select No. Click “Next”

Step 8: Business Contact Details
Enter your business phone number (this will appear on Google) and your website address. If you do not have a website, select “I Don’t Need A Website” for now. Click “Next”

Step 9: Click “Finish”

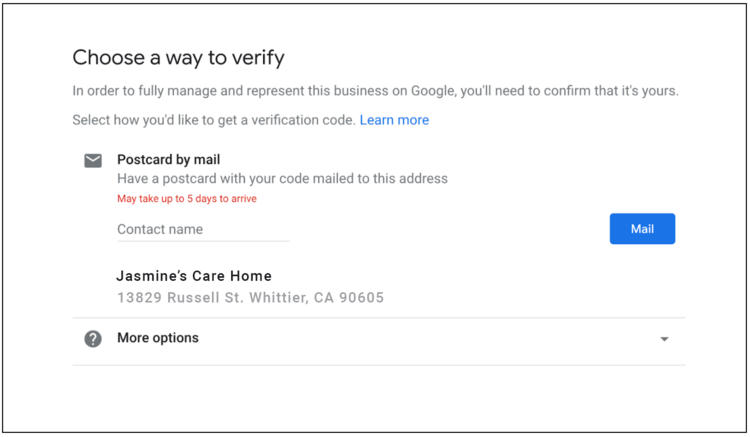
Step 10: Verify
*This is a very important step. Make sure that you select “Postcard by mail”
NOTE: “If postcard by mail” does not appear as an option, select “More options” and then select postcard by mail.
Enter your name, double check that the address is correct. Click “Mail”
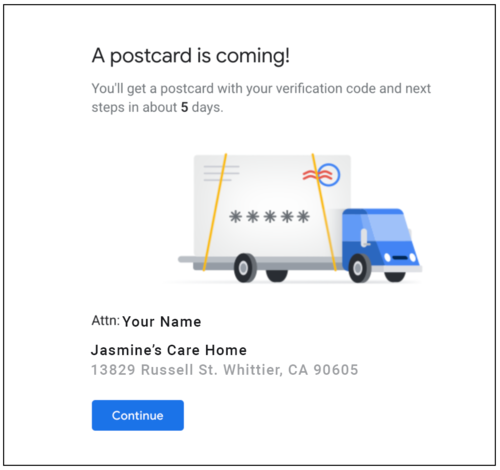
You will receive a postcard from Google in approximately 5 days with a PIN code to complete the verification process.
Step 11: Confirmation
Congrats. You’ve created a Google My Business Listing for your business. Hit “Continue”
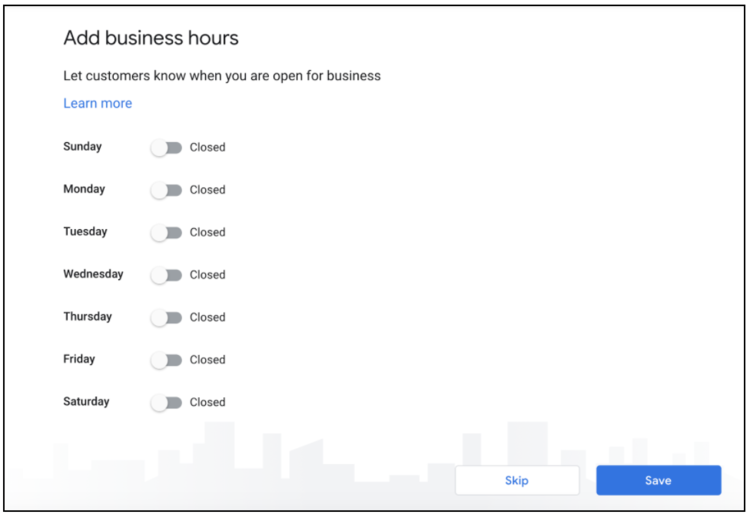
Step 12: Add hours
Add Your Business Hours. Click “Save”
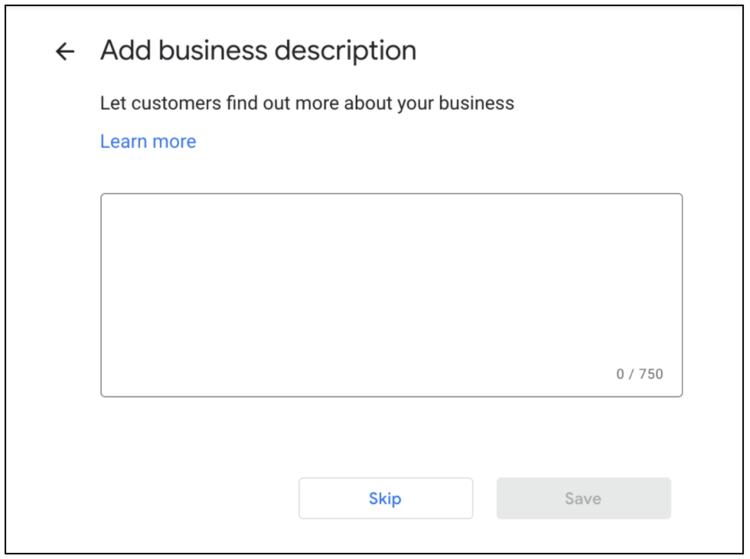
Step 13: Add A Business Description
Enter up to 750 characters for your business’ description. Click “Save”
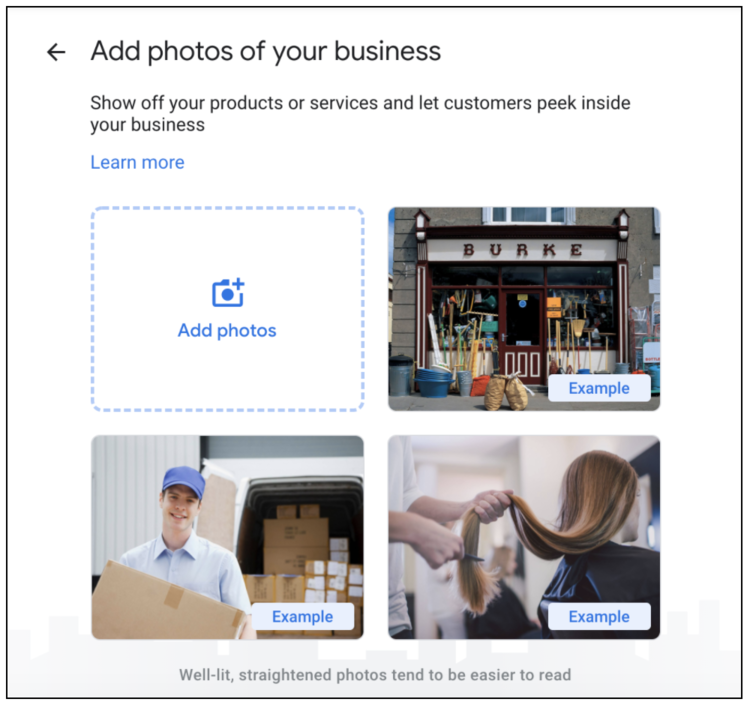
Step 14: Add Photos of Your Business
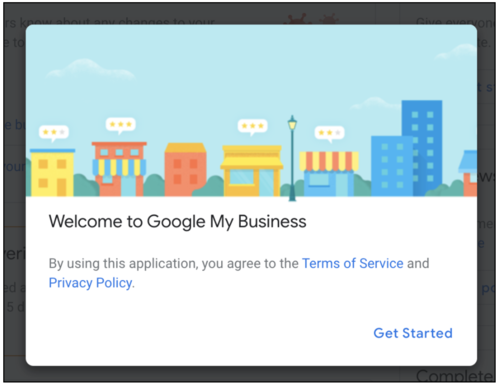
Step 15: Click Get Started
You are now on your way to starting your local marketing efforts.
Step 16: Enter Verification Code
Once you get the PIN code, enter the verification code.
